Easy Sourdough Bread Recipe for Beginners - Your Simple Guide
We may earn money from the products/companies mentioned in this post. As an Amazon Associate I earn from qualifying purchases.
Beginner easy sourdough bread recipe
The internet has overcomplicated sourdough. It's time to get back to the basics and see just how simple sourdough can be!
I've been on my own sourdough journey for almost three years now, and over time, I’ve developed my own simple method for baking sourdough bread.
My approach might be different from what you’ve heard before, but I truly believe sourdough doesn’t have to be complicated. Whether you want to bake every day or just once a week, sourdough can easily fit into your life without taking over your schedule.
In this post, I’ll walk you through my easy artisan sourdough bread recipe, sharing tips and tricks to make the process stress-free and enjoyable. Beginner sourdough doesn't have to be overwhelming!
Watch my video on how to make simple sourdough bread
It's time to ditch the overwhelm and make sourdough bread baking simple again!
Why Keep Sourdough Simple?
If you’ve ever felt overwhelmed by sourdough tutorials online—don’t worry, you’re not alone!
With all the talk about stretch and folds, precise hydration levels, and strict schedules, it’s easy to think that making sourdough is a science project. But here’s my philosophy:
Could I do everything “perfectly” to make a better loaf? Sure. But is what I’m doing good enough? Absolutely! (This does NOT mean there is no room for improvement, but rather, don't let fear of not doing it "right" keep you from ever starting!)
So, if you're looking for a relaxed, approachable way to bake sourdough, you're in the right place!
(Oh, and the loaf of bread I make with this method still has a crispy, crunchy crust and tastes amazing!)
How can a beginner make sourdough bread?
Sourdough baking can seem overwhelming, but it's really not as difficult as you may think. All you need to bake bread is a sourdough starter, flour, water, and salt! (Oh, and a dutch oven is great, too!)
Step 1: Feeding Your Sourdough Starter
If you don’t have a sourdough starter yet, you can get one from a friend, get some of my own sourdough starter (Alfred Humphrey) here, or look up a guide to creating your own. (Stay tuned—I'll be doing a video on that soon!)
I follow a zero-discard starter method, meaning I never throw out extra starter. My starter lives in the fridge, and I only feed it when I’m ready to bake (so I never have sourdough discard).
(If I want to bake a "discard" recipe, I just use what's leftover from the last time I fed my starter.)
My Feeding Ratio:
When I'm ready to bake, I usually feed my starter using a 1:2:2 ratio, which means:
- 150 grams of starter
- 300 grams of all-purpose unbleached flour (no need for specific bread flour)
- 300 grams of filtered water (avoid chlorinated tap water)
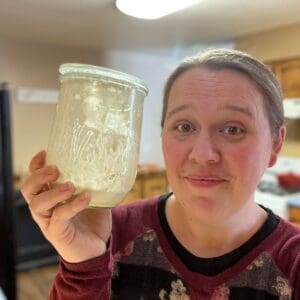
Once mixed, the starter should have a thick pancake batter consistency. I let it sit overnight at room temperature in a Weck tulip jar, which is my favorite for storing sourdough.
By the next morning, the starter should be bubbly and doubled in size—ready to use! (Depending on the temperature of your kitchen it may take longer. But you want it to have doubled in size and be nice and bubbly.)
You will have extra active sourdough starter if you use these exact measurements. I use the leftover to make a "discard" recipe, or I just add what's left back to my "mother" sourdough jar in the fridge.
You can see my full method for how I take care of my starter here!
Step 2: Mixing the sourdough bread recipe
Here’s where we start putting everything together. You’ll need:
- Water (warm, filtered water around 100°F or room temperature is fine, too)
- Bubbly Active sourdough starter (it should float when added to water)
- Salt (added at any point; no need to stress over timing)
- Unbleached all-purpose flour (organic is nice, but not a deal-breaker)
Mixing Steps:
- Add water to a large mixing bowl (I always measure with a kitchen scale).
- Stir in the active starter until dissolved.
- Add salt and flour, stirring until combined into a shaggy dough.
- Cover with a towel and let it rest for 30 minutes.
Pro tip: A kitchen scale is one of the only essential sourdough tools—don’t worry about fancy gadgets!
Step 3: Stretch & Folds for easy sourdough bread
This step strengthens the dough and helps develop gluten. Here’s how I do it:
- Wet your hands to prevent sticking.
- Gently stretch one side of the dough and fold it over itself.
- Rotate the bowl and repeat on all four sides.
- Cover and let it rest for 30-45 minutes.
Repeat the stretch and folds a few times over several hours. But don’t worry—this isn’t an exact science. If you get busy and miss a fold, it’s totally fine! (Be sure to watch my easy sourdough video to see exactly how I do it.)
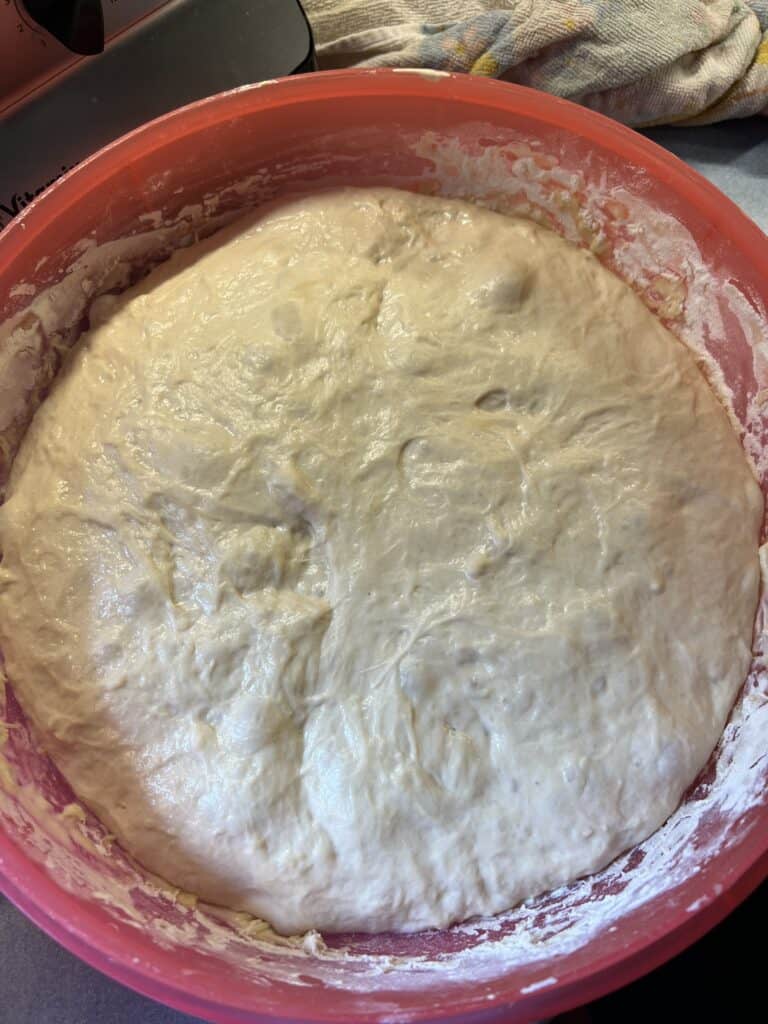
Step 4: Bulk Fermentation
After a few rounds of stretch and folds, let the dough sit for several hours (I like to let it set for 4-6 hours). You'll know it’s ready when it’s puffed up and you can see air bubbles.
Reminder: Timing is flexible! If you need to step away, the dough will still be fine.
Step 5: Shaping the simple sourdough loaves
Once bulk fermentation (4-6 hours on the kitchen counter) is complete:
- Lightly flour your surface.
- Divide the dough into two equal parts.
- Gently stretch it out and form it into a loaf shape. (See my video to watch how I shape loaves)
- Place into a floured banneton basket (or a bowl lined with a floured tea towel).
- Cover and refrigerate overnight.
I usually store my shaped loaves in plastic bags in the fridge overnight so they don't dry out.
Step 6: Baking the Bread in a dutch oven
The next morning, it's time to bake! No need to preheat the oven for an hour—I use a cold oven baking method, and it works beautifully.
Baking Steps:
- Place the dough on parchment paper.
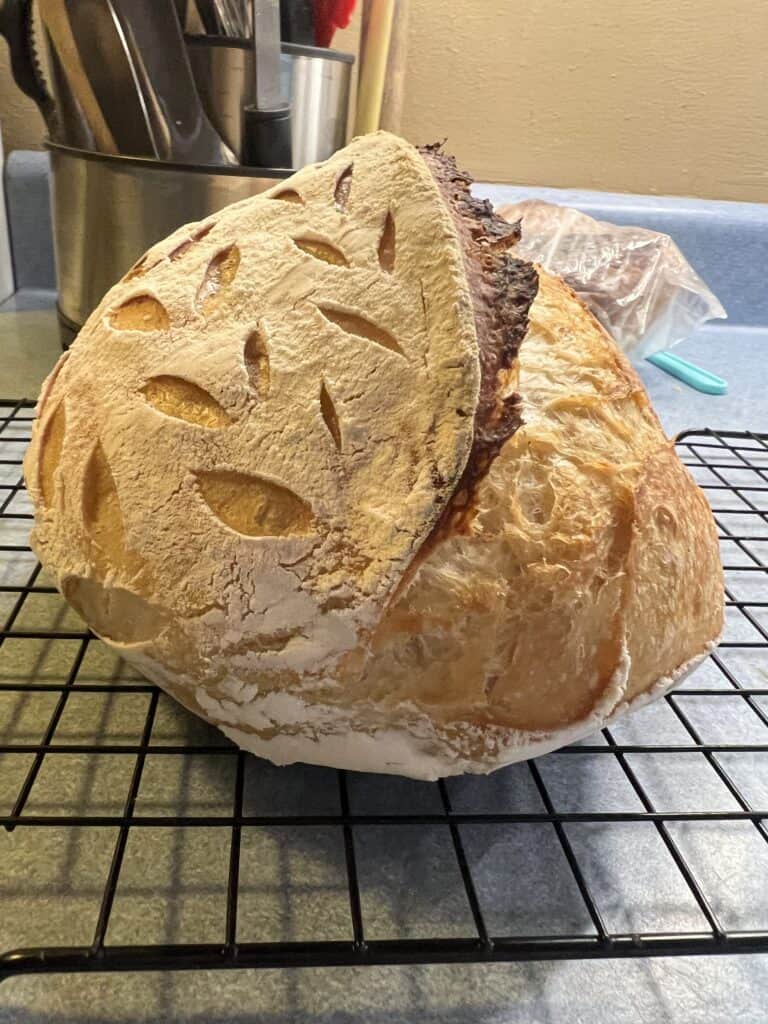
- Score the top with a sharp knife or bread lame. (I've even used scissors)
- Bake in a cold oven at 450°F for 55 minutes with the lid on.
- Remove the lid and bake for an additional 15 minutes to brown the top.
To prevent burning, I place an Instant Pot trivet inside my Dutch oven and a baking sheet underneath the pan in the oven.
If you don't have two dutch ovens to bake both loaves at the same time, you can follow the steps below for baking the second loaf.
- Place the dough on parchment paper.
- Score the top with a sharp knife or bread lame. (I've even used scissors)
- Bake in the preheatedoven at 450°F for 30 minutes with the lid on.
- Remove the lid and bake for an additional 15 minutes to brown the top.
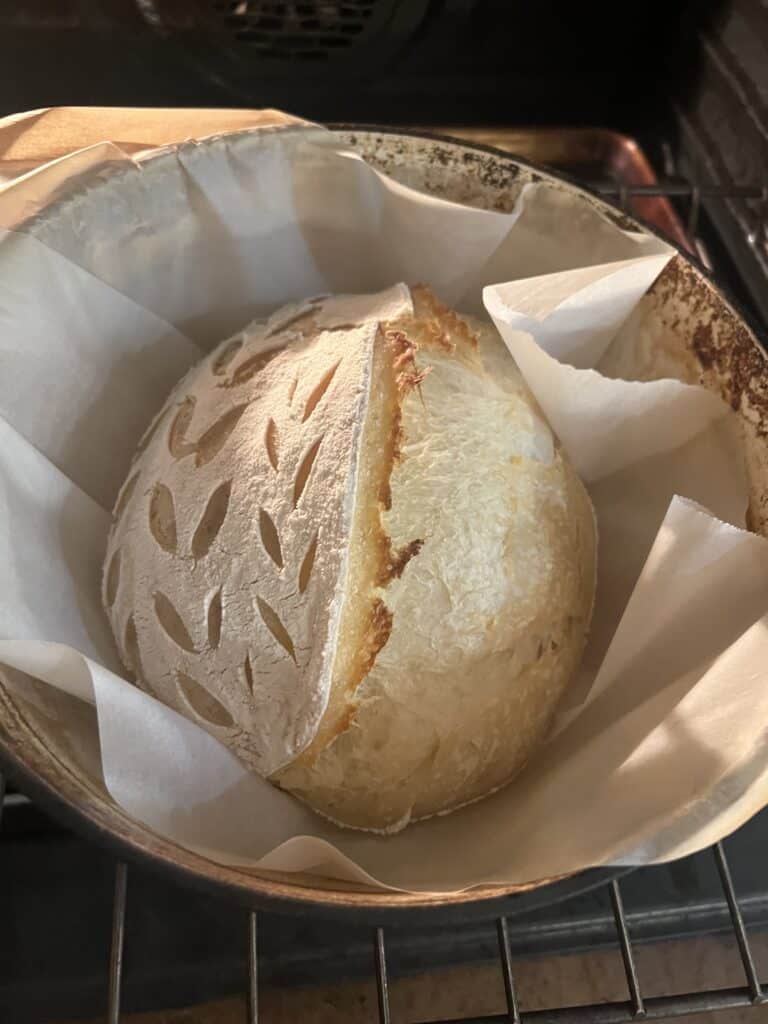
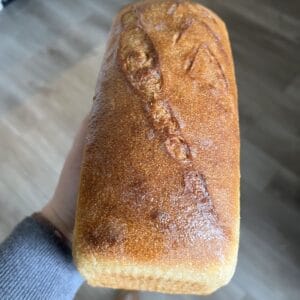
The Final Result
Once baked, let the loaves cool completely on a wire rack before slicing.
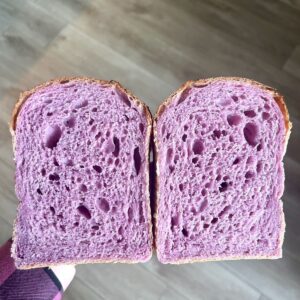
When cutting, I recommend slicing the loaf down the middle first, then cutting smaller slices from each half. This makes slicing easier and more even.
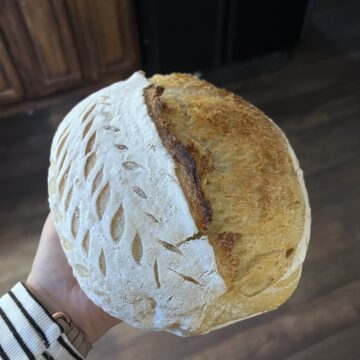
And there you have it—delicious, homemade sourdough with minimal effort!
I'll soon have a sandwich bread recipe, so be watching for that!
Frequently Asked Questions
1. How do I know my starter is ready to use?
If it floats in water, it’s ready! Bubbling and doubling in size are also good signs.
2. Do I have to do stretch and folds exactly on time?
Nope! If life gets busy, it’s totally fine to space them out as needed.
3. Can I use whole wheat flour instead of all-purpose?
Yes, but it the ratios will be different. Experiment to see what works best for you.

Easy sourdough bread recipe
Sourdough doesn’t have to be intimidating. My goal is to simplify the process and show you that “good enough” is good enough! With a few simple steps, you can bake delicious, artisan-style sourdough without stress or overwhelm.
Yes, it does take time, but the steps are so easy!
If you found this post helpful, be sure to check out my other sourdough resources, including my zero discard starter method and my favorite sourdough tools.
Have questions? Leave a comment below. I’d love to hear from you!
Easy Beginner Sourdough Artisan Bread
Ingredients
- 475 g Filtered Water
- 200 g Bubbly Active Sourdough Starter
- 1 Tbl. Salt
- 700 g Unbleached All-Purpose Flour
Instructions
- Mix everything together until a shaggy dough forms. Cover and let set for 30 minutes.
- Perform 3-4 sets of stretch and folds about 45 minutes apart (timing isn't super important - see video).
- Allow to bulk ferment on the counter for 4-5 hours.
- Form into loaves and place in prepared bannetons.
- Cover and put in the fridge overnight.
- The next morning, remove from the bannetons, score, and place on parchment paper in baking dishes.
- Put in a COLD oven and set the temperature to 450 degrees. Set the timer for 55 minutes.
- After 55 minutes, remove the lids, and bake for another 15 minutes.
- For best results, allow to cool before slicing.